
Get Your Brakes Ready for Roadcheck
CVSA's National Roadcheck June 5-7 may be focusing on hours of service, but you can bet that lots of trucks will be put out of service for brakes. To help you out, here’s a refresher course on inspecting your truck’s air brakes and what to do if you discover you’re not in compliance.

Inspectors will primarily conduct North American Standard Level I inspections – a 37-step procedure that examines both driver operating requirements and vehicle mechanical fitness.
Photo: Jim Park
Are your brakes properly adjusted? If you’re not sure, now is a good time to find out, because the Commercial Vehicle Safety Alliance’s International Roadcheck inspection blitz will run from June 5 -7 this year. Brake violations are one of the most common problems discovered during these inspections, so your odds of getting cited for improperly adjusted brakes will rise significantly during that three-day period.
Law enforcement officials and brake safety experts were on hand at the CVSA Brake Safety Conference in Schaumburg, Illinois, in May with detailed information on what officers look for during brake inspections, plus tips to help drivers make sure their vehicle is ready to pass muster if it is selected for inspection.
Based on that meeting, here’s a refresher course on inspecting your truck’s air brakes and what to do if you discover you’re not in compliance.
Brake Adjustment Violations
For starters, let’s take a moment and review what’s at stake should a DOT officer inspect your brakes and find them out of compliance.
The North American Uniform Out of Service Criteria issued by the Commercial Vehicle Safety Alliance is the guide used by almost all commercial vehicle enforcement officers and is the key to understanding what they are looking for during an inspection.
The first thing you need to understand is that the standard treats brake adjustment violations differently depending on how many brakes on a vehicle are out of adjustment. The standard also takes into account the degree to which a brake is out of adjustment – recognizing that a brake that is slightly out of adjustment is still able to produce braking energy, whereas brakes that are further out of adjustment produce significantly less braking force and are therefore a more serious safety concern.
According to the criteria followed by officers, when more than 20% of a vehicle’s brakes are out of adjustment, the vehicle will be placed out of service. In extreme cases, where a more than 50% of a vehicle’s brakes are out of adjustment, the truck can be impounded by DOT officials.
In practical terms, that means that a brake must be ¼ inch (6 mm) or more beyond the proper adjustment limit before it can be considered a full defect. A brake stroking less than ¼ inch (6 mm) is calculated by DOT officers as a “half defect.”
Brake Inspection Safety Procedures
Safety should always come first with any vehicle inspection – and brake checks are no exception. So, before you begin, take these precautionary steps:
Park the truck on a level surface.
Secure the truck using wheel chocks or blocks to prevent unintended rolling or movement.
Park away from roads or high-traffic areas.
Turn the vehicle engine off.
Identify Your brake chamber size and stroke.
Always check brake adjustments when brakes are cold. This is because stroke measurements will be longer when brakes are hot due to heat expansion of the brake drum.
Brake adjustment limits as set by CVSA vary based on the size of the brake chambers the vehicle is equipped with. So your first inspection act is to identify the chambers and confirm their size based on the square-inch area of the chamber diaphragm.
If you don’t feel like measuring the area of the brake chamber diaphragm, you’re in luck: Brake chamber size can also be determined by locating size markings engraved on both the clamp and body of the chamber. If those markings are illegible, you can also use a specially designed caliper to get the correct size measurement of the chamber.
Commercial vehicle brake chambers range in size from 6 to 36 with 30 the most common size in the U.S. Steer axle brakes are generally smaller, ranging in sizes from 12 to 20. As a rule of thumb, larger size chambers are typically used on heavier axles.
If you’re having trouble confirming the brake chamber size(s) on your truck, you can refer to the vehicle’s spec sheet or owner’s manual for additional information.
Once you’ve got the chamber size locked in, you have to determine if you’re dealing with standard- or long-stroke chambers. This is important, because the adjustment limit for a long-stroke chamber can be as much as ½ inch (13 mm) longer than the stroke length on a standard chamber.
Long-stroke chambers can be identified visually in three ways:
The air lines attach to a square-shaped port on the brake chamber body. Standard brake chambers have round air line ports.
A trapezoidal-shaped tag placed under the clamp bolt that indicates the brake chamber’s maximum stroke dimension (but not the brake adjustment limit).
Markings on the brake chamber body indicating it is a long-stroke chamber and only long-stroke diaphragms are to be used with the component.
Once your vehicle is shut down, cooled off, properly chocked and secured, and you know for certain what the size and stroke length of your brake chambers are, it’s time to get down to the nitty gritty of making sure your brakes are in compliance. And it is crucially important to make sure you obtain results in the same manner an inspecting officer would in the field.
To do this, always inspect brakes when:
Pressure in the truck’s air tanks is in the 90 to 100 psi range.
The engine is shut off.
The service brakes are fully applied.
At this point, you’re ready to measure the pushrod stroke of each brake using one of several approved methods.
Optimally, having another person to assist you by applying and holding the service brakes during the inspection is preferred. However, in a pinch, you can also do so safely alone by properly using wheel chocks and finding a suitable prop that will stay in place and hold pressure on the brake pedal.
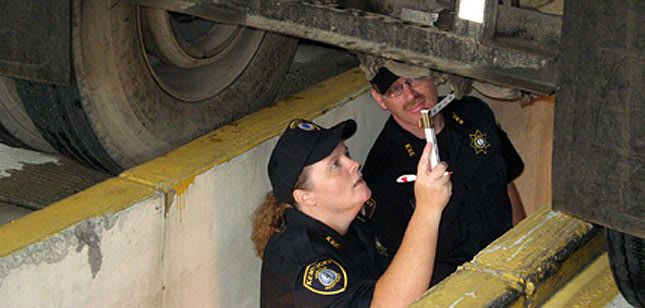
Photo courtesy CVSA
How to Measure Applied Pushrod Stroke
Once your truck is safely parked and set up for the inspection process, make sure the air pressure is in the normal operating range and then release your spring brakes.
At this point, you need to decide on one of two different methods to determine the brake’s applied pushrod stroke.
Method 1: Mark the pushrod at either the brake chamber or another fixed reference point using chalk, soapstone or a marker pen. The marks should be narrow and precise.
Method 2: Measure the released position of the pushrod and note the distance from a point on the pushrod body to a fixed point near the brake chamber.
Regardless of which method you chose, the resulting figure is Measurement 1.
Now, either raise or lower the truck’s air pressure as is appropriate by either running the engine or pumping the brake pedal until you have 90 to 100 psi indicated in both the primary and secondary air tanks. Once you’ve got the correct air pressure indicated, apply and hold full pressure to the service brake pedal.
At this point, you need to determine the applied pushrod stroke according to the method you selected to obtain that measurement.
If you used Method 1, measure the distance from the mark you made on the pushrod to either the brake chamber or the fixed reference point.
If you used Method 2, measure the applied position of the pushrod.
In both cases, you objective is to measure the distance from the previously selected point on the pushrod to the previously selected fixed point near the brake chamber to obtain Measurement 2.
Now, based on your previously determined size and type of brake chamber, check Measurement 2 against the correct adjustment limit for the brake chamber.
If the applied pushrod stroke is longer than the adjustment limit, the brake is out of adjustment.
Use this table to help you determine if the brake stroke is in, or out of adjustment:
Brake Adjustment Limits - Clamp Type Brake Chambers
Size of Chamber Marking | Outside Diameter | Adjustment Limit | Max Stroke |
|---|---|---|---|
6 None | 4-1/2” (115mm) | 1-1/4” (32mm) | 1-3/4” (45mm) |
9 None | 5-1/4” (133mm) | 1-3/8” (35mm) | 1-7/8” (48 mm) |
12 None | 5-11/16” (144mm) | 1-3/8” (35mm) | 1-7/8” (48 mm) |
16 None | 6-3/8” (162mm) | 1-3/4” (45mm) | 2-1/4” (57mm) |
16L “L” stamp on cover/stroke tag | 6-3/8” (162mm) | 2” (51mm) | 2-1/2” (64mm) |
20 None | 6-25/32” (172mm) | 1-3/4” (45mm) | 2-1/4” (57mm) |
20L "L” stamp on cover/stroke tag | 6-25/32” (172mm) | 2” (51mm) | 2-1/2” (64mm) |
24 None | 7-7/32” (183mm) | 1-3/4” (45mm) | 2-1/4” (57mm) |
24L “L” stamp on cover/stroke tag | 7-7/32” (183mm) | 2” (51mm) | 2-1/2” (64mm) |
24LS Square ports, tag & cover marking | 7-7/32” (183mm) | 2-1/2” (64mm) | 3” (76mm) |
30 None 8-3/32” (205mm) | 8-3/32” (205mm) | 2” (51mm) | 2-1/2 (64mm) |
30LS Square ports, tag & cover marking | 8-3/32” (205mm) | 2-1/2” (64mm) | 3” (76mm) |
36cNone | 9” (228mm) | 2-1/4” (57mm) | 2-3/4” (70mm) |
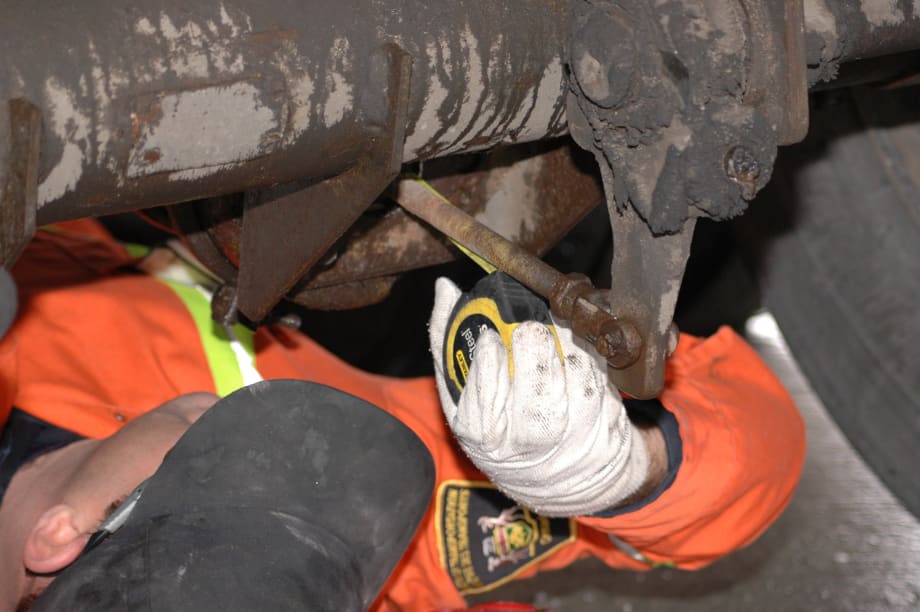
Taking Brake Free Stroke Measurements
If you need a general idea as to whether your brakes are adjusted correctly and don’t have time to carry out a full-formed inspection, you can measure the free stroke of a brake, which gets longer as the brake gets more and more out of adjustment.
In this approach, properly chock and secure the vehicle, then climb underneath it and using your hand or a suitable pry bar, pull back on the pushbar away from the brake chamber and measure how much play is present in the pushbar’s range of motion. If the measured free-stroke distance exceeds ¾ inch (19mm) there is a high likelihood the brake is out of adjustment. In this instance, CVSA dictates checking the applied stroke of the brake right way to confirm correct adjustment.
Again, the CVSA guidelines stress that this method only gives limited insight into brake adjustment and is not a guarantee that the brakes are within accepted CVSA adjustment limits.
Inspecting Pushrod Markings
To help simplify the brake inspection process, many brake manufacturers mark pushrods with indicator markings that can quickly tell an inspector if a brake is in, or out, of adjustment.
To check brakes using this method, check to make sure the vehicle is properly secured and chocked, then climb underneath and inspect each brake pushrod. A manufacturer’s out of adjustment indicator will typically be a brightly colored band around the pushbar. If the brake is within adjustment, this marking will be inside the body of the brake chamber and not visible to the inspector. However, if any portion of the indicator marking is visible, either flush with the brake chamber face or past it, the brake is out of adjustment.
Remember that CVSA takes brake adjustment seriously and the time taken to confirm your brake adjustment settings is negligible compared to the time you can spend out of service for failing an inspection.
Editor's Note: The original version of this article left out the CVSA Brake Safety Conference in Schaumburg, Illinois, where much of this information originated. We apologize for the oversight.
Related: How to Prepare for the CVSA Inspection Blitz
More Safety & Compliance
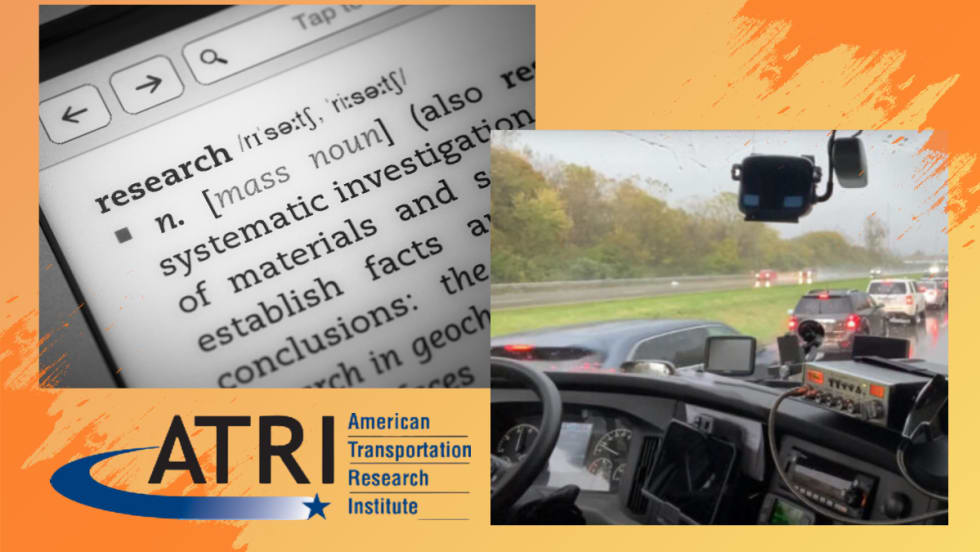
ATRI Wants Motor Carriers for Driver-Facing Camera Study
In this new study, the American Transportation Research Institute will explore how driver-facing cameras can impact safety and operational metrics in trucking fleets.
Read More →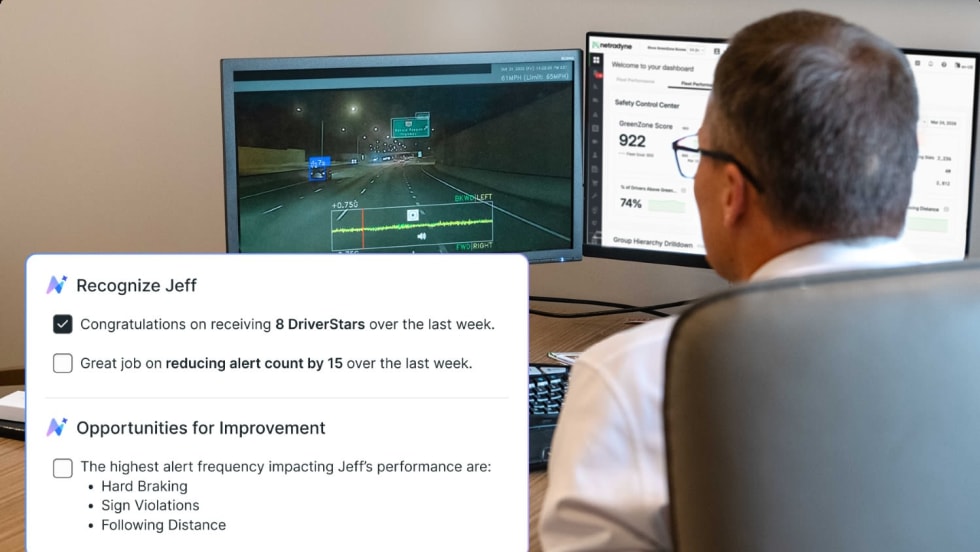
Netradyne Intelligence Uses New AI Agents to Automate Response to In-Cab Camera Data
The company called the next-generation in-cab camera safety platform "a fundamental shift from systems that report on what happened to systems that actively drive what should happen next."
Read More →
Mack, Volvo Issue ‘Do Not Drive’ Recall on Possible Wheel-Offs
Owners will be sent advance notice not to operate their affected vehicles until the remedy is performed.
Read More →
Fleetworthy Integrates Lytx Video Snapshots into Safety+ Platform
A new Fleetworthy-Lytx integration gives fleet managers access to video context alongside safety event data, streamlining driver coaching and incident review.
Read More →
How Waste Connections is Using Data, Telematics, and AI
How do you manage and maintain more than 18,000 connected trucks? Data. Lots of it.
Read More →
Fleet Advantage: Top Logistics Fleets Outperform National Safety Benchmarks
Fleet Advantage's latest TRUST Safety Index found leading logistics fleets maintained significantly lower out-of-service rates and stronger safety scores than national averages, while highlighting persistent challenges related to tires, brakes, and unsafe driving behaviors.
Read More →
Why Fleet Data Matters More Than Ever at Waste Connections [Watch]
Waste Connections' Chuck Palmer explains how telematics, predictive maintenance, safety analytics, and AI help keep vehicles on the road and drivers safe in this episode of HDT Talks Trucking.
Read More →
Short Takes: How K&B is Using AI
Fleets need to "get on board the train" with AI, says Lance Evans of K&B Transportation in this HDT Talks Trucking Short Takes episode.
Read More →
Short Takes: Inside K&B’s Truck Safety Tech
Listen to learn how K&B Transportation uses cellphone-blocking technology, speed management systems, weather geofencing, bridge avoidance tools, and more to improve driver safety.
Read More →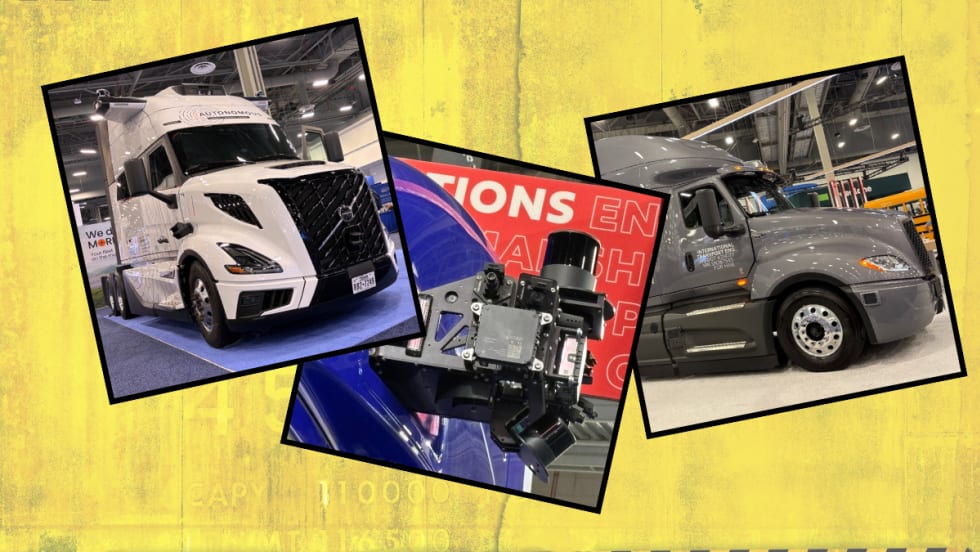
The Biggest Gap in Driverless Trucking Isn’t Tech. It’s Safety Validation
Nauto’s Stefan Heck says autonomous trucks are advancing quickly but proving they’re safe enough for large-scale deployment may be the industry’s hardest challenge.
Read More →