

A Step-by-Step Approach to Brake Maintenance
Taking shortcuts when doing a brake job can lead to problems such as uneven wear and substandard braking performance.

Photo via Haldex

Taking shortcuts when doing a brake job can lead to problems such as uneven wear and substandard braking performance. Haldex recommends the following step-by-step approach to complete brake maintenance. (While most of this advice applies to brake jobs in general, be sure to follow your specific brake manufacturer’s instructions.)
Disassembly
In conducting a complete brake job, disassembly can affect the assembly portion of the brake job process – all of which affects overall performance of your brakes.
Be sure as you disassemble the brake to carefully inspect every part, checking for unusual wear. Part wear patterns can tell you a lot about the brake and the entire braking system.
Most friction problems can be diagnosed by a close inspection of the old parts. Begin by checking the pushrod stroke.
1. Check the pushrod stroke per CVSA checking procedures at 90 to 100 psi reservoir pressure. Excessively long or short stroke can alert the technician to problems that need to be addressed during rebuild. Haldex ABA Stroke Adjustment Instructions (L55054) and Haldex ABA Service Manual (L30033) offer a list of potential problems.
2. Before pulling the wheels, check each for end play and oil seal leakage. This may indicate seal problems or bearing/cup wear and/or adjustment.
3. Inspect all shoes for even wear. If all brakes are not worn evenly, there may be failed or misadjusted components that will need to be corrected before assembly.
4. Inspect lining surface for heat checking. If present, this indicates excessive heat due to all wheels not braking evenly, incorrect lining being used for the application, overloading or a combination of these.
5. Check lining wear across each shoe. An uneven pattern or excessive grooves can indicate the drums need replacing. An uneven pattern can also indicate bent spiders or bellmouth drums, or weak shoe return springs.
6. Inspect lining surface for grease or oil. Never reuse a grease- or oil-soaked brake shoe. Grease or oil on the friction material will cause the lining to glaze and not do its share of the braking. Never do a one-wheel brake job.
7. Inspect drum surface for even wear, glazing and/or heat checking. Heat checks, cracks and blue spots indicate excessive heat (hairline heat checks not over 1 inch are normal). Never reuse a drum if wear is over .080 or several heat checks are aligned across the braking surface or hard spots exist.
8. Check s-cam for wear at the inner and outer bushing surfaces, s-cam head and spline areas. Worn s-cam or worn s-cam bushings will contribute to longer than normal pushrod stroke.
9. Check brake adjusters for proper settings and operation. Check clevis pins and anchor brackets for wear. Never mix automatic brake adjusters with manual brake adjusters, or use different makes of automatic brake adjusters on the same axle. Never operate automatic brake adjusters with worn components.
10. Check the wear difference between the front and rear axle shoes (if relining a truck or trailer). If the wear is not equal, this can indicate an air timing imbalance or different rated friction materials. Check for inconsistent use of elbows in air lines (a 90-degree elbow is equal to 7 feet of extra hose).
11. Inspect spiders. Pay special attention to the anchor pin-hole area and for squareness and s-cam bushing bore, and to anchor surfaces that are not replaceable.
Reassembly
1. Select and install the correct material and shoe. Select the proper friction material based on your type of loads, application, duty cycle and operating terrain. Consult your supplier if you have any questions. Many shoes look alike, especially the new extended service design, so be sure to install the same shoe that is removed.
2. Always replace all shoe attaching parts, anchor pin bushings, cam bushings and oil seals. All parts being reused should be cleaned with solvent, rinsed and dried. Replace s-cams, bearings and cups as necessary.
3. Lubricate anchor pins, brake rollers and bushing area of camshafts. Never lubricate the face of the roller (contact point with the s-cam). Only lubricate the bearing area of the roller that contacts the shoe web.
4. Install new drums, if necessary. Do not mix light- and heavy-duty drums. This will result in uneven brake shoe wear.
5. Lubricate axle spindle to ensure bearings slide on easily. Slide hubs on to the axle far enough to be able to install the inner and outer bearing and inside axle nut. Never slam the hub onto the axle. Adjust bearings to manufacturer’s specifications. Install spacer/lock ring and outer nut (if applicable) and new hub cap gasket. Ensure proper hub oil or bearing grease, depending on the type, is applied.
6. Always adjust all brake adjusters on all wheels of the vehicle. Adjust all manual brake adjusters for .015 drum clearance. Automatic brake adjuster drum clearance is .018-.025 (check manufacturer's specifications for proper setup). Follow the same procedure for each brake adjuster on the vehicle.
7. Inspect all brake hoses leading to chambers, replacing if cracks are found.
8. Inspect all spring brakes for center seal leakage, replacing if needed.
9. Check brake release. If slow on the trailer, install a quick-release gladhand on the service side of the trailer to speed air exhaust.
10. Inspect spring brakes for proper installation of rubber dust plug in release tool hole.
11. If you replaced any brake chambers, ensure you did not mix sizes. Never mix long stroke with standard stroke chambers on the same vehicle.
12. If relining a trailer, replace both gladhand seals.
13. Always road test after reassembly to check for satisfactory brake performance. Automatic brake adjusters are typically backed off half turn from lining contact. Final stroke will not occur until brakes are cycled and lining is “burnished in.”
14. Re-examine wheels for excessive end play.
15. Re-check brake adjusters and chambers for proper and equal stroke.
Adapted from a Tech Tip issued by Haldex. This article was authored under the guidance and editorial standards of HDT's editors to provide useful information to our readers.
More Maintenance
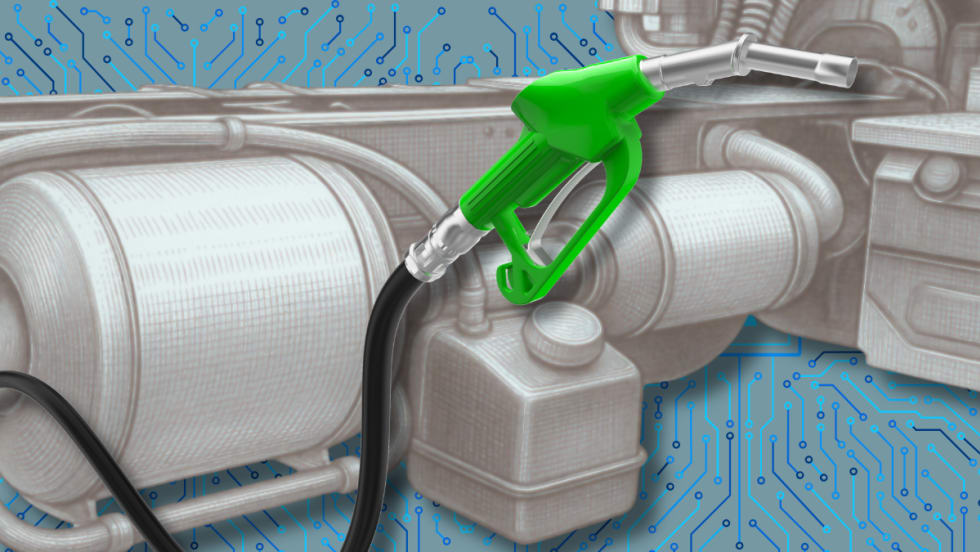
New Agentic Predictive Maintenance Report Demonstrates How Degraded Aftertreatment Systems Waste Fuel
Questar analyzed a large mixed-class fleet and discovered it was wasting as much as $30 in fuel per vehicle, per day, because of mechanically degraded aftertreatment systems.
Read More →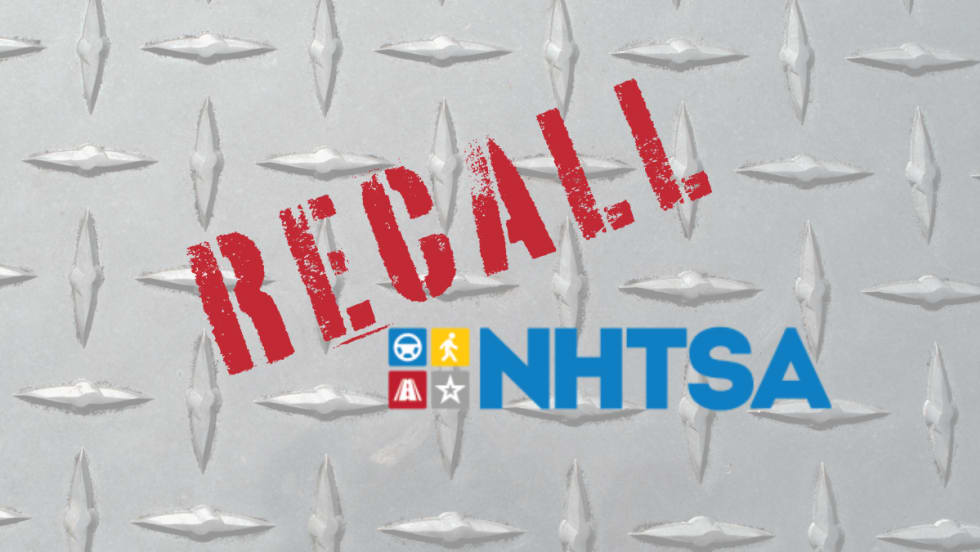
Mack, Volvo Issue ‘Do Not Drive’ Recall on Possible Wheel-Offs
Owners will be sent advance notice not to operate their affected vehicles until the remedy is performed.
Read More →
Why Fleet Data Matters More Than Ever at Waste Connections [Watch]
Waste Connections' Chuck Palmer explains how telematics, predictive maintenance, safety analytics, and AI help keep vehicles on the road and drivers safe in this episode of HDT Talks Trucking.
Read More →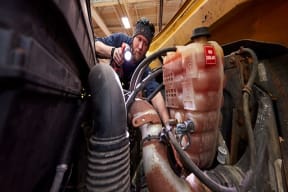
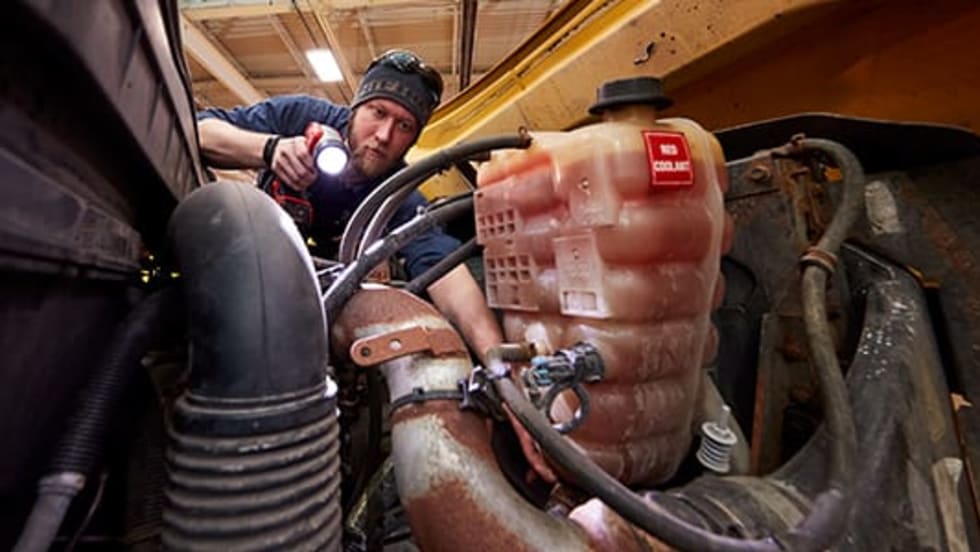
How to Prevent Summer Truck Cooling System Failures
Summer heat puts heavy-duty truck cooling systems under intense strain. Learn how preventive maintenance and accurate repair information can help reduce downtime.
Read More →
Deadline Extended for HDT Truck Fleet Innovators Nominations
Heavy Duty Trucking has extended the deadline for nominations for its Truck Fleet Innovators awards. The deadline has been extended to May 22.
Read More →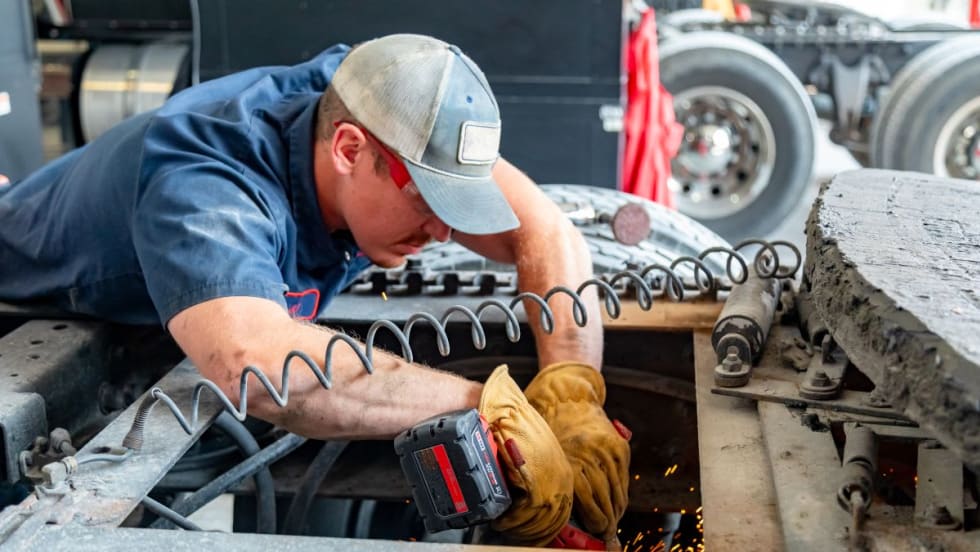
Why VMRS Is the Natural Link Between AI, Predictive Analytics, and Vehicle Repairs [Commentary]
Jon White was a leading figure in the development of VMRS. Now, after five decades of service, White says VMRS is becoming essential to the AI-driven future of truck maintenance.
Read More →
Mack Trucks Revamps PartsASIST Platform with Faster Performance, Improved Navigation
Mack Trucks has launched a redesigned version of its PartsASIST online ordering platform, adding faster search, real-time inventory visibility and enhanced order tracking.
Read More →
International Debuts ‘My International’ Connected Platform to Centralize Fleet Data, Service, and Dealer Communication
International’s New digital ecosystem unifies telematics, maintenance, and dealer interaction into a single interface, aiming to reduce downtime and deliver predictive fleet insights.
Read More →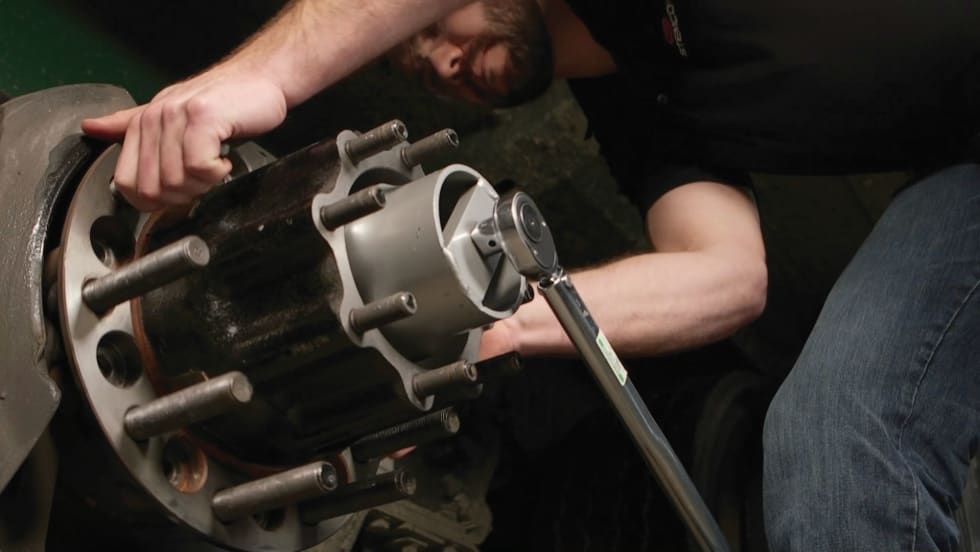
Saving Fuel at the Wheel End
Wheel ends are often overlooked in the quest for better fuel economy. But Joshua Kucera, product manager, Stemco, warns that neglecting wheel ends can reduce fuel economy and increase maintenance headaches.
Read More →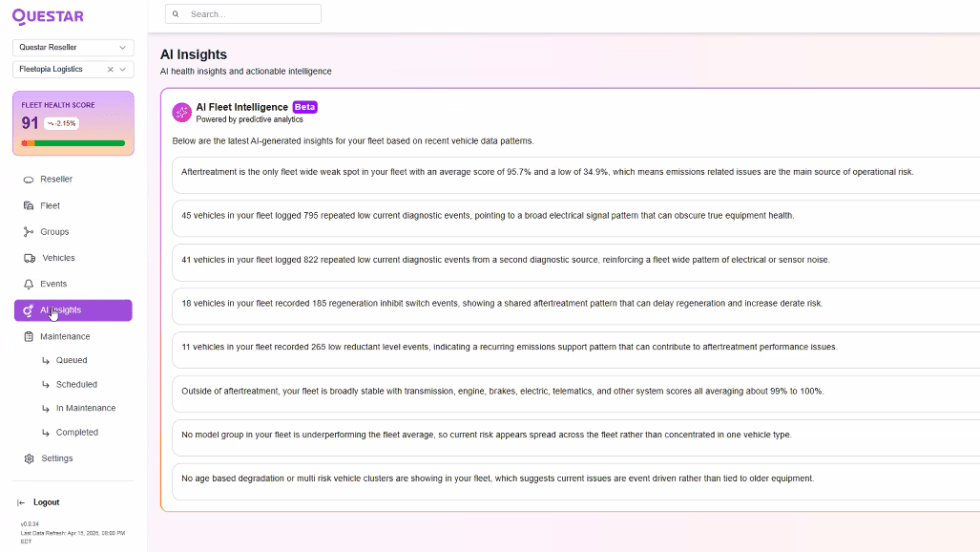
Beyond Predictive: Questar Adds AI-Driven Repair Recommendations to Fleet Maintenance
Questar’s latest maintenance platform uses AI to flag potential failures, recommend repairs, and estimate the cost of waiting, helping fleets prioritize maintenance and save money and downtime.
Read More →