

Keeping Your Wheels On
There’s no mystery to why wheels come off trucks. The National Transportation Safety Board in 1992, and Ontario’s Ministry of Transportation in the late 1990s, both concluded after exhaustive studies that inadequate maintenance was the root cause of a series of fatal wheel separation incidents.

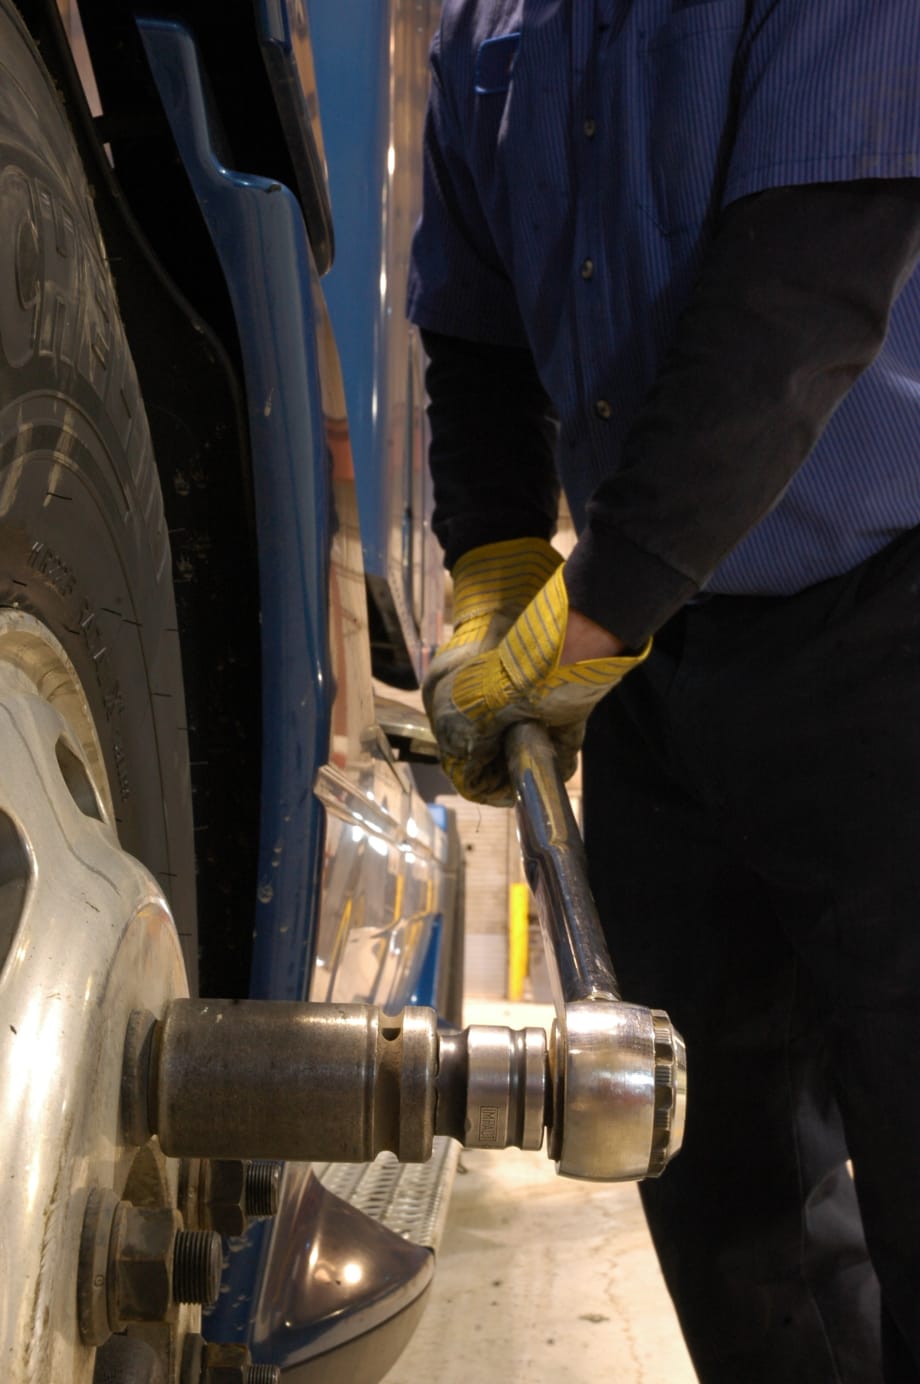
A calibrated torque wrench is required to set the recommended torque on wheel fasteners. Over-torqueing with an impact wrench can stretch and weaken the studs.

There’s no mystery to why wheels come off trucks. The National Transportation Safety Board in 1992, and Ontario’s Ministry of Transportation in the late 1990s, both concluded after exhaustive studies that inadequate maintenance was the root cause of a series of fatal wheel separation incidents.
Whether it was loosened wheel fasteners or failed bearings due to improper installation or loss of lubricant, better maintenance could have prevented all but a few of the incidents. One report that emerged from Ontario revealed that between 2000 and 2003, 83% of the incident reports noted that repairs or maintenance had been performed on the suspect wheels just a short time prior to the separation.
There’s no shortage of information on maintenance procedures for wheel ends or tire and wheel installation procedures, so why are wheels still coming off trucks at an estimated rate of two or three per day across the country?
Understanding the issues
Hub and bearing installation is an exacting exercise, and it can be complex.
Bearing installation and adjustment procedures for non-preset bearing sets described in The Technology and Maintenance Council’s Recommended Practice 618 are a nine-step process requiring some diligence on the technician’s part. To achieve the accepted .001 to .005 endplay on the bearing, you need a calibrated torque wrench and a dial indicator.
On top of that, RP-618 assumes the spindle threads are in like-new condition and haven’t stretched or deformed, and that the thread face is free of oil, rust or dirt that could influence the torque. That could be a large assumption.
That slight degree of endplay is accepted, even though bearing manufacturers will tell you a slight preload condition provides optimum bearing life. The problem with preload is that it’s very difficult to measure, says Rick Domin, senior product analyst for the automotive aftermarket at Timken.
“The difference between proper preload and excessive preload is .002 of an inch,” he says. “The reason we, TMC and others recommend .001 to .005 of endplay is because it’s achievable and it’s measureable and you can get consistent results. It takes special equipment to achieve measured and consistent preload.”
Easier options
Ray Piascik, vice president of marketing and sales at Temper Axle Products Corp., insists measured and consistent preload is achievable. His company has developed a system called Dr. Preload that can measure preload precisely and repeatedly, then lock the bearing at that setting.
“We’ve done some testing trying to achieve preload with torque wrench procedures, and we concluded it can’t be done reliably or repeatedly,” Piasik says. “Just a slight slip of the wrench and you can go very high on preload. That’s really bad for bearings.”

Dr. Preload is a measuring tool that allows technicians to set measureable and consistent bearing preload in about a minute per wheel-end, without torque wrenches and dial indicators. It does require a proprietary nut and lock ring, but the system is available for any wheel hub currently available.
Systems such as ConMet’s PreSet, Spicer’s LMS and Timken’s pre-adjusted wheel-ends help make correct installation easier and more accurate.
For instance, ConMet’s PreSet system consists of specially toleranced bearings and a precision machined bearing spacer to maintain the correct seat-to-seat dimension of the bearing cups.
When the spindle nut is torqued to the recommended torque, the spindle compresses the bearing cone races and the bearing spacer against the shoulder of the spindle. When you torque the spindle nut, you are loading the bearing spacer rather than the bearing rollers.
ConMet’s PreSet and PreSet Plus hubs are assembled, inspected to verify bearing setting, seal run out and ABS output with computerized inspection equipment, says Roger Maye, national service manager for Consolidated Metco.
“When the hub is installed by the technician, as long as the instructions are followed and the spindle nuts are properly torqued, there is almost no way to install these hubs incorrectly.”
Installation procedures are different than TMC RP-618 because this is a different design. There is no need to verify end play measurements.
By controlling the component tolerances, the hub comes from the factory operating in light controlled preload or one to two thousands endplay.
“Light controlled preload is a good thing,” Maye says. “Measuring preload in the field is difficult. We measure it with computerized equipment in the factory so you don’t have to worry about it.”
Wheel fasteners
Procedures, or a lack thereof, are likely responsible for fastener-related wheel separations. Even broken, cracked and damaged wheels and related components can usually be traced back to improper and/or inconsistent maintenance.
Craig Kessler, vice president of engineering at Accuride, says the first step is to ensure the mounting surfaces on the wheel, hub and drum, as well as the studs, are free of dirt, debris, corrosion, loose paint, etc.
“Any loose material that could slip out from between the mating surfaces will reduce the clamping force between the surfaces,” he says. “Once some looseness develops, the rest of the fasteners could work loose as well.”

For hub-piloted wheel systems, Kessler recommends using two to three drops of lubrication – SAE 30 weight or equivalent – on the outer two threads of the stud and a drop between the nut body and flange.
“If a stud is broken, you must replace the adjacent studs on either side of it. If two or more studs are broken, all studs must be replaced,” he stresses.
With wheels and the fasteners cleaned, inspected and ready to mount, break out the calibrated torque wrench and set it to the wheel manufacturer’s torque specifications for the wheel-fastening system in use. For most hub-piloted wheels, that’s between 450 and 500 foot-pounds.
“A common misconception in the industry is to correct low clamping force by over torque,” says Rafael Gonzalez, director of product management, wheels, at Accuride.
“This practice can stretch the stud beyond its yield point, rendering it ineffective, which places additional load and stress on adjacent studs.”
It’s okay to spin the nuts on and run them up to the wheel in sequence using an impact wrench, but a calibrated torque wrench must be used to achieve the proper clamping force.
The final step is perhaps the most important, and one rarely practiced, it seems – re-torqueing the wheel nuts after 50 to 100 miles and every 10,000 or so after that.
We called three tire service shops for this story to ask how often fleets actually come back to the shop for a re-torque. All three said they never had a customer come back for a re-torque. One shop near Cleveland, Ohio, said they always recommend a re-torque, but the drivers shake their heads and say they don’t have time or that it will take them off route.
The driver’s role
Drivers should be taught what to look for when doing a quick wheel-end inspection, which includes inspecting fasteners for signs of looseness and detecting potential bearing failures before they occur.
Telltale signs of low clamping force and/or loose fasteners include rust lines originating from bolt holes, space between the nut flange and the wheel disc, signs of slippage of the wheel under the nut such as bare metal on a painted wheel, cracks radiating outward from the stud holes and cracks between the stud holes.
Bearing problems are harder to detect, but include grinding or squealing noise from a wheel end, a wobble while in motion and high hub temperatures. Drivers can smell or touch the hubs to see if they are excessively hot. They should be warm but not hot to the touch after a few hours of driving. Compare individual wheels and hubs to others on the truck.
Lubricant levels should be inspected on hubcaps with a sight glass. Look for leaks on hubs with no sight glass and look at the inner seal as well. Leaking seals will dribble oil all over the inside of the tire.
After an en route tire repair, drivers must have the newly attached wheel re-torqued after about 50 to 100 miles. While this presents certain logistical challenges, the importance of re-torqueing the wheel to its recommended value after a repair cannot be overstated.
Get educated
History always repeats itself unless we learn from our mistakes, and wheel maintenance is no exception. There is no shortage of information out there.
TMC offers three Recommended Practices that detail wheel installation procedures and hardware requirements: RP-217C, RP-222C and RP-237. All of the wheel and rim manufacturers and tire producers, as well as the Tire and Rim Association, the Society of Automotive Engineers and the Occupational Safety and Health Administration, have published guidelines for fleets and tire technicians to follow.
For instance, SKF recently updated its Trouble-Free Operation wheel end maintenance guide (457975). It provides the latest wheel-end maintenance practices and detailed instructional materials.
More Aftermarket

AUCTION OF EQUITY INTEREST IN HEAVY HAUL TRUCKING COMPANY!!
Mark your calendar: June 30, 2026 (10:00 a.m. PDT). A 37.5% ownership interest in MagnaTrans, LLC, a California limited liability company doing business as Magna Transportation Group, will be sold in an in-person and online auction to the highest bidder or bidders under Article 9 of the Uniform Commercial Code. The Rancho Cucamonga-based heavy haul and over-dimensional trucking company operates across California, Oregon, and Arizona.
Read More →
Phillips Opens High-Tech Distribution Center for Faster Parts Delivery
Phillips Industries’ new Cincinnati-area distribution center is now shipping aftermarket trucking parts nationwide, aiming to speed up delivery times for customers.
Read More →
Volvo to Sponsor America’s Road Team for 2025
Volvo Trucks announced that it is extending its exclusive sponsorship of America’s Road Team for 2025.
Read More →
Webb to Start Taking Orders for UltraSet Pre-Adjusted Wheel Hubs
Webb, which recently acquired the Stemco Trifecta pre-adjusted hub program, will soon start taking orders for its replacement pre-assembled hub, the UltraSet.
Read More →
All-Makes Automatic Brake Adjusters, Ride Height Control Valves from Midland
SAF-Holland has added automatic brake adjusters and ride height control valves to its Midland All-Makes Program.
Read More →
ZF Aftermarket Expands [pro]Academy Training
ZF Aftermarket said it is expanding its ZF [pro]Academy training and will be adding 40 new modules this year.
Read More →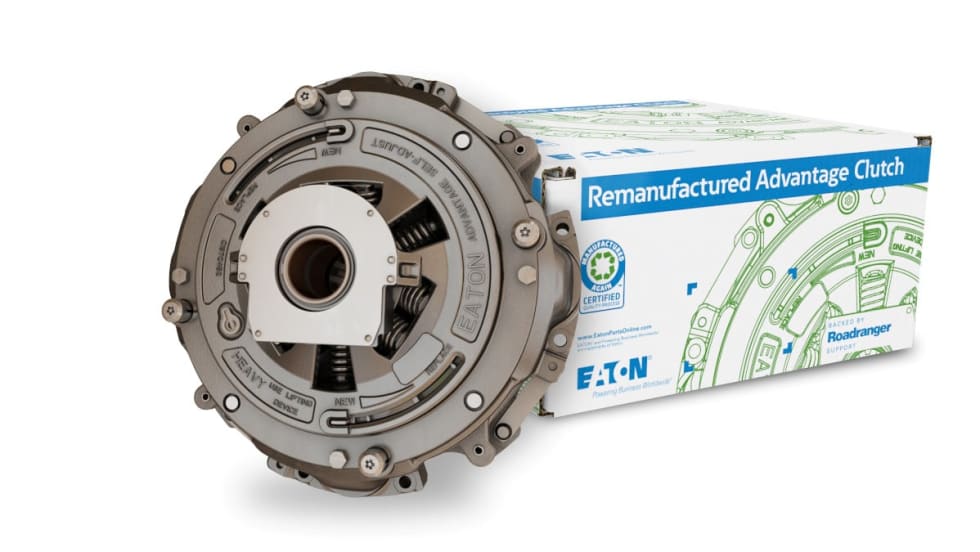
Eaton Adds Remanufactured Advantage Line of Clutches
Eaton has added its Advantage clutches to its remanufactured product line. The clutches feature a unique strap drive intermediate plate designed to allow customers to choose the latest OE specification
Read More →
ConMet Acquires TruckLabs, the Creator of TruckWings
Commercial truck and trailer parts provider ConMet acquired TruckLabs, the company that created TruckWings, an aerodynamic device that attaches to truck cabs and deploys to close the gap between truck and trailer. TruckLabs now operates as a subsidiary of ConMet.
Read More →
Diesel Laptops Releases Fault-Code-to-Part-Number Tool
Diesel Laptops said its Truck Fault Codes allows users to input a fault code and immediately identify and order the parts needed to complete repair work.
Read More →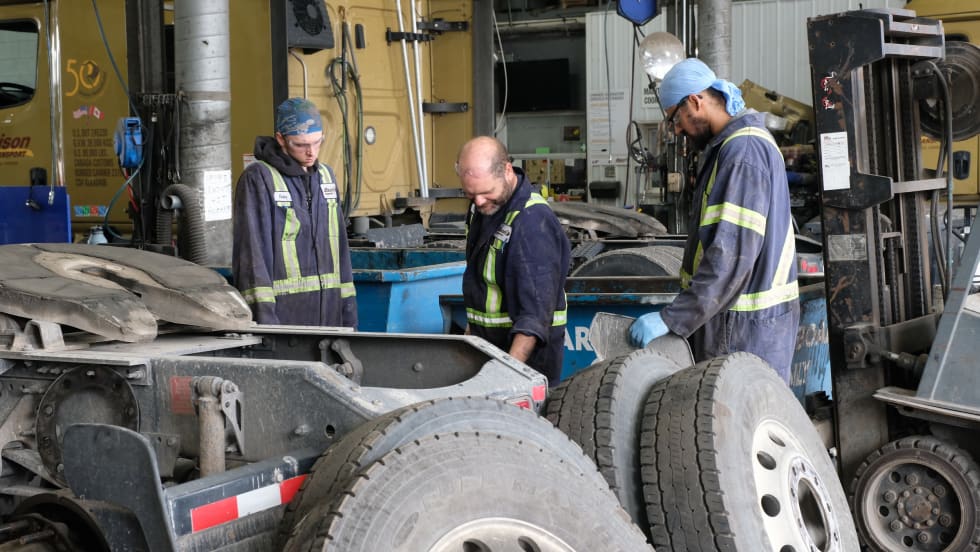
Heavy Duty Parts and Labor Costs Dropped in Q2
A benchmarking report from TMC and Decisiv reveals good news for fleets as heavy-duty parts and labor costs dropped in the second quarter of 2023.
Read More →